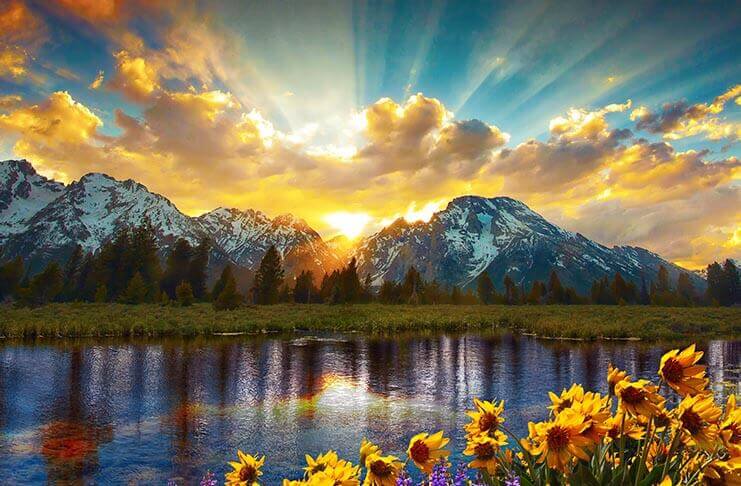
Landscape photos are everywhere these days. If you want to make yours stand out, you will need to use certain tips and techniques.
Landscape Photography: Planning and Preparation
Landscape photography requires some planning, both in terms of location and equipment. Take the time to research your destination if you’re traveling to take photos of nature. You might stumble upon some stunning views.
You can maximize your efforts by looking at things such as weather forecasts and parking areas, viewpoints, sunrise or sunset times, etc. Remember that poor weather is only sometimes a deal breaker for most photographers. You’ll still want to pack your rainproof cover for the trip. A day with threatening clouds can make your photos stand out. The next step is to decide what equipment to bring.
Camera Accessories and Equipment for Landscape Photography
A very popular question indeed. What equipment and photography gear does a landscape photographer have in his camera bag? The opinions will differ, and the specific equipment will depend on your needs. I will list the essentials that you should have with you.
Digital Cameras and Lenses
A digital Camera with a larger dynamic range and the ability to shoot in RAW is a great camera for taking landscape photos.
A wide-angle camera lens is the best choice. If you have a full-frame camera, a 16-35mm is a great choice.
Tripod or Monopod
Monopods and tripods are essential in many situations. Landscape photographers would all use them because they eliminate the image shaking while exposing. It is almost only possible to take longer exposure photos with a stabilization device. My Dolica Proline travel tripod is great for shooting and traveling because it’s lightweight and compact.
A Gorillapod is a good option for those who have even more restrictive weight or size requirements. Some models can support up to 11 pounds. This is great if you have a heavy telephoto lens attached to your camera.
A tripod is a great way to avoid blurring in your photos. It also allows you to experiment and try different settings for the same scene.
Setting up a tripod will also give you an extra push to consider composition and perspective.
Lens Filters
Filters are essential for any landscape photographer. Filters allow you to adjust the light even further.
ND Filter
The ND filter is like wearing sunglasses on your lens. They reduce the amount that hits the sensor and allow you to take longer exposure photos in brighter light conditions. ND filters are interchangeable and come in a variety of strengths.
Neutral density means that the filter does not produce any color cast and stops all wavelengths equally. ND filters come in different light-stopping powers. The 0.3 ND is also known as an ND 2. Both will reduce the glare by one stop, which allows you to adjust an exposure when there is a difference of about one stop between the sky and the foreground. Likewise, an ND 4 and an ND 0.6 both reduce two visits of lighting.
Gradient ND Filter
You can use a graduated neutral density (Grad ND), e.g., You can balance your exposure by using a graduated neutral density filter (Grad ND). A sunrise scene is characterized by a sky that has been blown out and a dark foreground. You can balance your exposure by using a Grad ND to reduce the brightness of the sky.
Circular Polarizer
circular filters are another piece of glass that can help you reduce glare haze and make colors more vibrant. They are similar to polarizing glasses, except you use them on your lens. These filters are great for shooting brooks and waterfalls. They’re also useful for shooting lush green vegetation that is drenched with dew or sweeping views against the backdrop of the sky.
Remote Shutter Release
You can trigger the shutter with an intervalometer or by using a remote. You can also use the inbuilt timer on your camera, but this is frustrating. Wait 2 to 5 seconds before pressing a button on your remote or intervalometer. This gives the camera time to settle and prevents the camera from shaking.
They are available in both wired and wireless versions and are extremely affordable. These shutter releases prevent your camera from being accidentally shaken when you release the shutter. The locking feature on most cable releases keeps the plunger or button pressed even during long exposure photography.
Camera Settings for Landscape Photos
Use simple settings to capture sharp, beautiful landscape photos. Why spend time and money to travel to remote locations and invest in high-tech camera equipment, super-sharp optics, a sturdy tripod, and other gadgets only to get blurry photos because of poor shooting technique?
Landscape photography is a great way to capture images that you will enjoy for years. There is no one camera setting for all landscape photography situations.
Use Higher Apertures
For everything to be in sharp focus, use an aperture higher than f/8. When shooting directly at the sun or light, use an aperture of f/11 and above. This creates an interesting starburst, which is dependent on the number of blades in the lens. You can find this information in the lens specifications. The lens will start to distort if you go beyond f/16 or f/22. The higher your f-stop is (e.g., The smaller the aperture (f/22), and the less light that enters the camera, the larger the f-stop.
Landscape photography usually uses a larger aperture (higher F-stop), but most lenses have a limit beyond which the image becomes softer. Knowing the characteristics of your lens can make all the difference. However, each lens has the sharpest aperture.
